How to Enable SSL on Cloud Connectors to Secure XML Traffic v0.2

A little update to my set-CTXCloudConnectorToSecureXMLTraffic.ps1 script.

Now it lists all available certificates on the machine and you have to select the one you want to use.

<#
    set-CTXCloudConnectorToSecureXMLTraffic.ps1

    v0.2 - Check for Certificates
    v0.1 - Initial Version

    https://support.citrix.com/article/CTX221671
    
    netsh http add sslcert ipport=0.0.0.0:443
    certhash=PASTE_CERT_HASH_HERE_FROM_NOTEPAD
    appid={PASTE_XD_GUID_HERE_BETWEEN{}_FROM_NOTEPAD

    Browse to HKEY_LOCAL_MACHINE\Software\Citrix\DesktopServer\
    Right-click DesktopServer, select New > DWORD (32-bit) Value
    Name: XmlServicesEnableNonSsl
    Value Data: 0

#>

# Find Citrix Broker Service GUID on the Cloud Connector
New-PSDrive -Name HKCR -PSProvider Registry -Root HKEY_CLASSES_ROOT | Out-Null
$keys = Get-Item "HKCR:\Installer\Products\*"
Remove-PSDrive -Name "HKCR"

foreach($key in $keys){
    if((get-itemproperty $key[0].PsPath).Productname -eq 'Citrix Broker Service'){
        $CtxBrokerServiceValues = Get-ItemProperty $key.PSPath
    }
}

# Format the String of the Service GUID
# It is important to mention that the entry in the registry is presented without the dashes for the GUID. 
# Please make that the dashes are added in the following format: 8-4-4-4-12
$appID = '{' + ($CtxBrokerServiceValues.PSChildName) + '}'
$appID = $appID.Insert(9,'-')
$appID = $appID.Insert(14,'-')
$appID = $appID.Insert(19,'-')
$appID = $appID.Insert(24,'-')


# Check for Certificates
$certs = (Get-ChildItem Cert:\LocalMachine\My\)
$selectedCert = $null

$certNames = $certs | ForEach-Object { $_.Subject }
write-host "******* Installed Cert Subjects **********" -ForegroundColor Green
$i = 0
foreach($certname in $certnames){
    $i++
    write-host "$i - $certname"
}
#$certNames
write-host ""

[int]$selectedCertName = Read-Host "Enter the number of the certificate you want to select"

if ($selectedCertName -le $i -AND $selectedCertName -gt 0) {
    #$selectedCert = $certs | Where-Object { $_.Subject -eq $selectedCertName }
    $selectedCert = $certs[$selectedCertName-1]
    $selectedCert
}
else {
    Write-Host "Certificate not found." -ForegroundColor Yellow
    $selectedCert = $null
    break # exit if no certificate is selected
}


# Get CC Computer Certificate Thumbprint
#$certhash = (Get-ChildItem Cert:\LocalMachine\My\).Thumbprint
$certhash = $selectedCert.Thumbprint


# Note: The “Citrix Broker Service GUID” being used to create the SSL binding may change with the Connector upgrades, however, no change is required to the SSL binding. 
# The binding would persist through these changes and SSL would continue to be enabled for the XML traffic.
netsh http add sslcert ipport=0.0.0.0:443 certhash=$certhash appid=$appID


# Allow only secure traffic
$registryPath = "HKLM:\Software\Citrix\DesktopServer"
$Name = "XmlServicesEnableNonSsl"
$value = "0"
New-ItemProperty -Path $registryPath -Name $name -Value $value -PropertyType DWORD -Force | Out-Null
How to Enable SSL on Cloud Connectors to Secure XML Traffic

I will not explain how to do it, this is explained in the CTX221671.

But because I’m a bit lazy, I wrote a quick and dirty script to get the AppID of the Service (Citrix Broker Service GUID) and the Cert-Hash of the computer certificate of the Citrix Cloud Connector and set it via netsh.

This is version 0.1!
No error handling etc.

<#
    set-CTXCloudConnectorToSecureXMLTraffic.ps1

    v0.1 - Initial Version

    https://support.citrix.com/article/CTX221671
    
    netsh http add sslcert ipport=0.0.0.0:443
    certhash=PASTE_CERT_HASH_HERE_FROM_NOTEPAD
    appid={PASTE_XD_GUID_HERE_BETWEEN{}_FROM_NOTEPAD

    Browse to HKEY_LOCAL_MACHINE\Software\Citrix\DesktopServer\
    Right-click DesktopServer, select New > DWORD (32-bit) Value
    Name: XmlServicesEnableNonSsl
    Value Data: 0

#>

# Find Citrix Broker Service GUID on the Cloud Connector
New-PSDrive -Name HKCR -PSProvider Registry -Root HKEY_CLASSES_ROOT | Out-Null
$keys = Get-Item "HKCR:\Installer\Products\*"

foreach($key in $keys){
    if((get-itemproperty $key[0].PsPath).Productname -eq 'Citrix Broker Service'){
        $CtxBrokerServiceValues = Get-ItemProperty $key.PSPath
    }
}

# Format the String of the Service GUID
# It is important to mention that the entry in the registry is presented without the dashes for the GUID. 
# Please make that the dashes are added in the following format: 8-4-4-4-12
$appID = '{' + ($CtxBrokerServiceValues.PSChildName) + '}'
$appID = $appID.Insert(9,'-')
$appID = $appID.Insert(14,'-')
$appID = $appID.Insert(19,'-')
$appID = $appID.Insert(24,'-')


# Get CC Computer Certificate Thumbprint
$certhash = (Get-ChildItem Cert:\LocalMachine\My\).Thumbprint

# Note: The “Citrix Broker Service GUID” being used to create the SSL binding may change with the Connector upgrades, however, no change is required to the SSL binding. 
# The binding would persist through these changes and SSL would continue to be enabled for the XML traffic.
netsh http add sslcert ipport=0.0.0.0:443 certhash=$certhash appid=$appID


# Allow only secure traffic
$registryPath = "HKLM:\Software\Citrix\DesktopServer"
$Name = "XmlServicesEnableNonSsl"
$value = "0"
New-ItemProperty -Path $registryPath -Name $name -Value $value -PropertyType DWORD -Force | Out-Null

Citrix Cloud – UPDATE STATIC/DEDICATED MCS CATALOG VMs

Wie tauscht man bei einem statischen MCS Machinen-Katalog den zugewiesenen Snapshot aus um die VM neu zu deployen?

So:
# Citrix Cloud Logon
Get-XDAuthentication -CustomerId $customerID
# Change Image-Snapshot
Publish-ProvMasterVMImage -ProvisioningSchemeName $machineCatalogName -MasterImageVM $newImagePath -RunAsynchronously

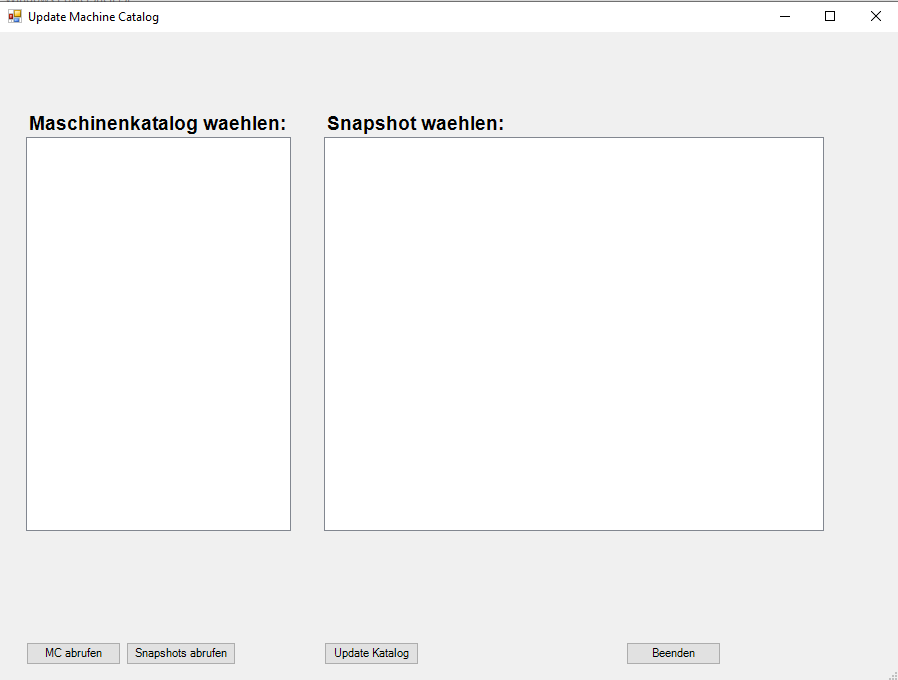
Aktuell bin ich noch am entwickeln einer GUI.

Also stay tuned 🙂

Citrix Cloud – Citrix Virtual Apps and Desktops service Automatisierung

Aktuell arbeite ich an einigen
Citrix Virtual Apps and Desktops service Projekten. Was mir bei allen aufgefallen ist, dass man ohne das Citrix Remote PowerShell SDK nicht auskommt.

Aus diesem Grund werde ich nach und nach meine Erfahrungen mit dem Citrix Remote PowerShell SDK hier teilen.

Hier schon einmal der Link zur Citrix Doku: https://docs.citrix.com/en-us/citrix-virtual-apps-desktops-service/sdk-api.html

Stay tuned 🙂